
Blog, How TO DO It
How To DIY Recone Using EV Fixture

Jan
Recone Instructions -EV Fixture
These instructions are particular to reconing with the EV fixture. Review the general instructions for details and pictures of the recone procedure too.
Start by using this link to see the details for cleaning the old parts from the speaker frame.
Install Voice-Coil Assembly: Clean all debris from inside speaker frame and magnet. Use compressed air (if available) to blow debris from speaker and eventually from voice coil gap. Add another layer of masking tape over the first to trap any remaining debris that might fall into the magnetic gap. Remove both layers of masking tape from voice coil gap at one time. Inspect the voice-coil gap. Clean gap thoroughly by folding masking tape over shim so sticky side is exposed on both sides. Insert into gap and circle. Repeat with new tape continually until tape comes up clean. If the original vc coil was burnt, check for windings in gap and completely clean out.
Dry fit all parts together in frame to check fit before using any adhesives! Install the voice coil into gap using the EV fixture with the shim attached until you get a tight fit where the coil fits securely. You must be able to insert a thin shim into the gap around the outside of the windings. Inspect to see that vc is set evenly. You should be able to see an equal amount of windings showing on top of the gap from all sides. The EV fixture will determine the height of the voice coil. Do not be alarmed if the DL models have quite a bit more of the windings visible above the magnet plate than other EV model speakers. It is important to check that the spider is placed above (not in the center of) the vent holes that are on the vc former. The spider should never rest in the middle of the holes. Remember to install in the gap so the voice coil leads align with the terminal on frame. Gently fold the leads over top of shim so they will not be damaged when you install the spider and cone.
Fit the spider and then cone over the voice coil and lower to frame to test fit. Turn spider gently to insure it is sitting evenly and level. Remove and apply a neat bead of contact glue on frame where spider will attach. Attach spider (gently turn to insure proper setting) and press ends to frame in full circle to insure glue fully adheres to the outside of the spider. (Pictures for this can be found in the general instructions mentioned above.) Fit the cone over voice coil and gently turn to insure it will sit evenly on frame. You might find that the cone sits slightly too high. If so, trim a very small amount from lip on the cone throat to fit better. See if cone throat opening reaches spider. If the cone does not reach the spider, epoxy voice coil to spider and then install cone as detailed next. If cone reaches mouth of spider at voice coil, then remove cone, add glue to the outside frame and install cone. Line up with voice coil leads and terminal. Smooth cone edge into glue. Install gaskets. Use a small piece of masking tape to hold in place. Use epoxy to attach cone to coil making sure that epoxy reaches spider everywhere it attaches to the vc. You might need to slightly lift and lower cone so epoxy forms bead around ID of spider. Smooth epoxy where it meets vc with solder poker or toothpick. Turn speaker upside down (be careful that gaskets do not shift move). This will insure that epoxy cannot drip into the vc gap. Let rest overnight. If the foam or rubber edge is taller than the gaskets, you must use a spacer so the surround is not crushed when the speaker is turned upside down.
The next day, gently lift voice coil leads and remove the centering fixture and shim combination. Make holes in cone for pigtails if no eyelet exists. Install pigtails through cone if not already in place. Some models come with the vc leads already attached to the pigtail, but if not, wrap vc leads around pigtails and solder. Solder pigtails to terminal on frame leaving “arches” that allow cone to have full range of excursion (be careful not to make arch too long or too short). Make sure leads face outward from one another so they cannot short out. Clip excess lead wire from outside of terminal. Hold speaker facing down (so debris cannot fall into vc gap) and test speaker. If noisy, try to clean inside the voice coil gap by gently inserting masking tape inside he vc former with sticky side out. Circle and remove any excess debris. Glue voice coil lead to cone eyelet. Put dustcap in place and use a bead of glue to attach to cone.. Apply edge dampening agent, dope or latex, if needed.
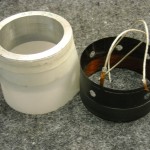
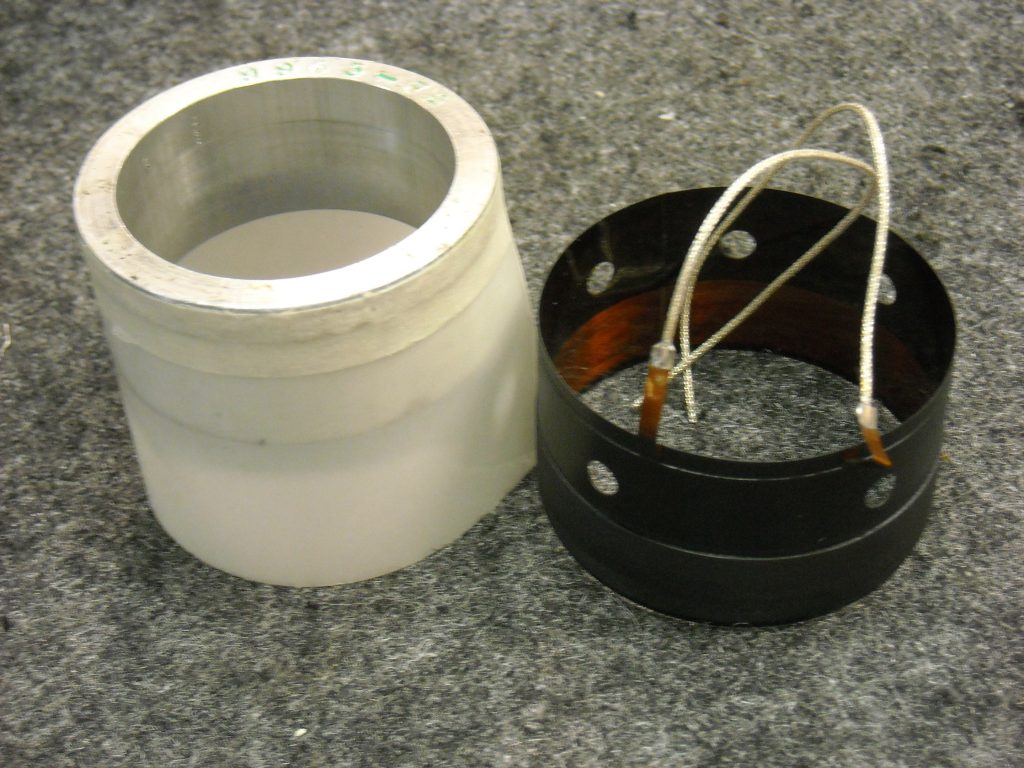
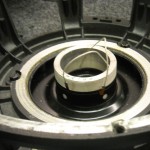
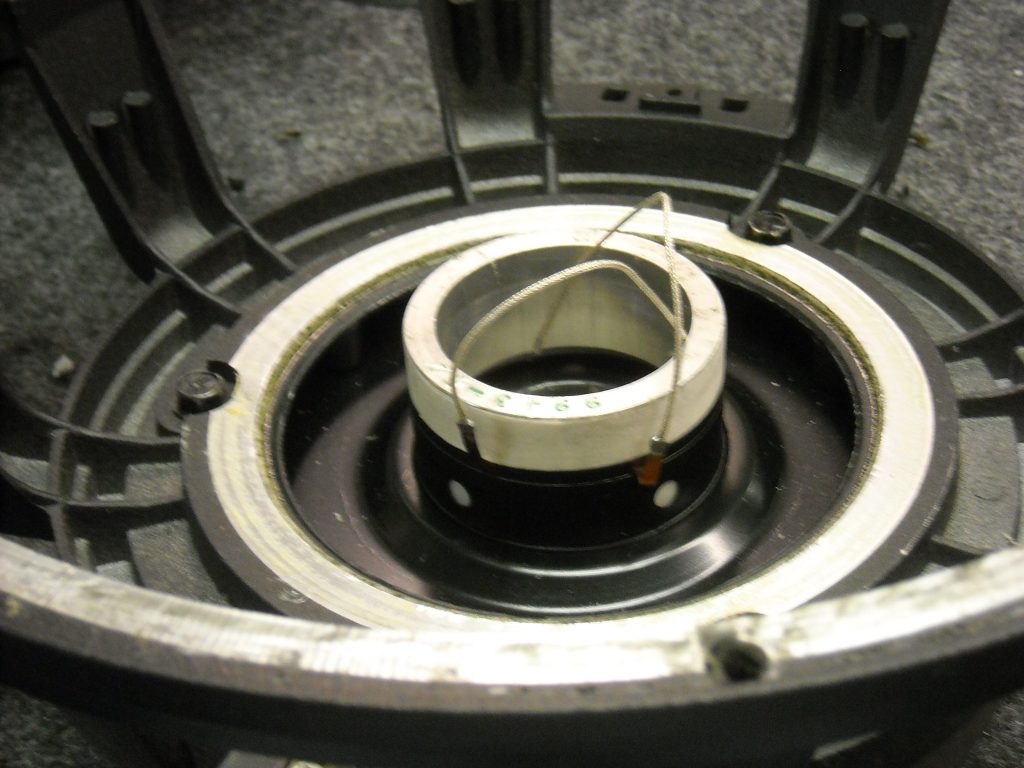
- 1) EV voice coil, centering fixture & shim
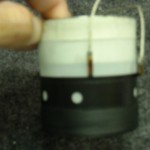
- 2) put vc on fixture with shim and move up to stop point

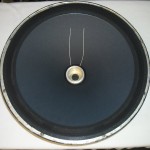
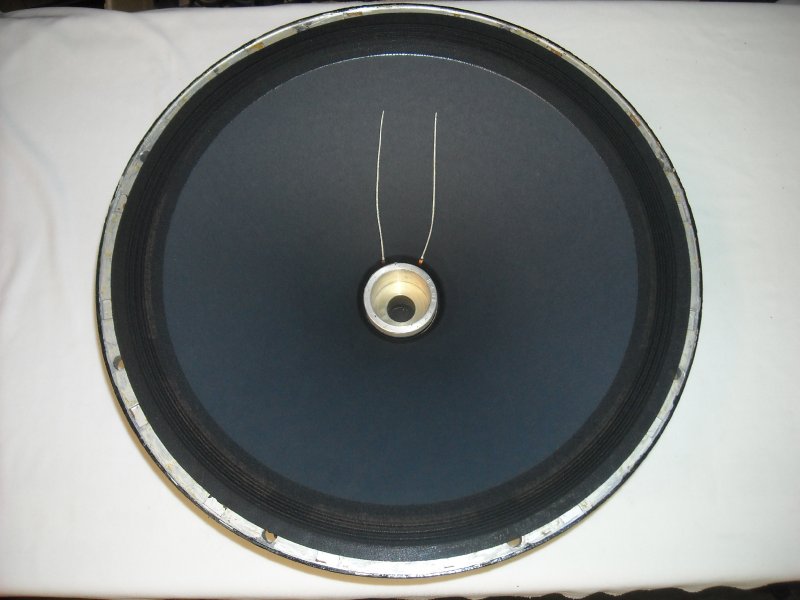
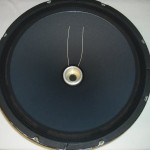
- 3) voice coil at correct position on fixture

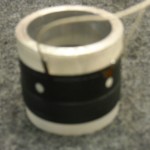
- 4) place vc and fixture into vc gap. fixture will force vc to rest at correct height
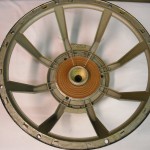
- 5) fit spider onto frame
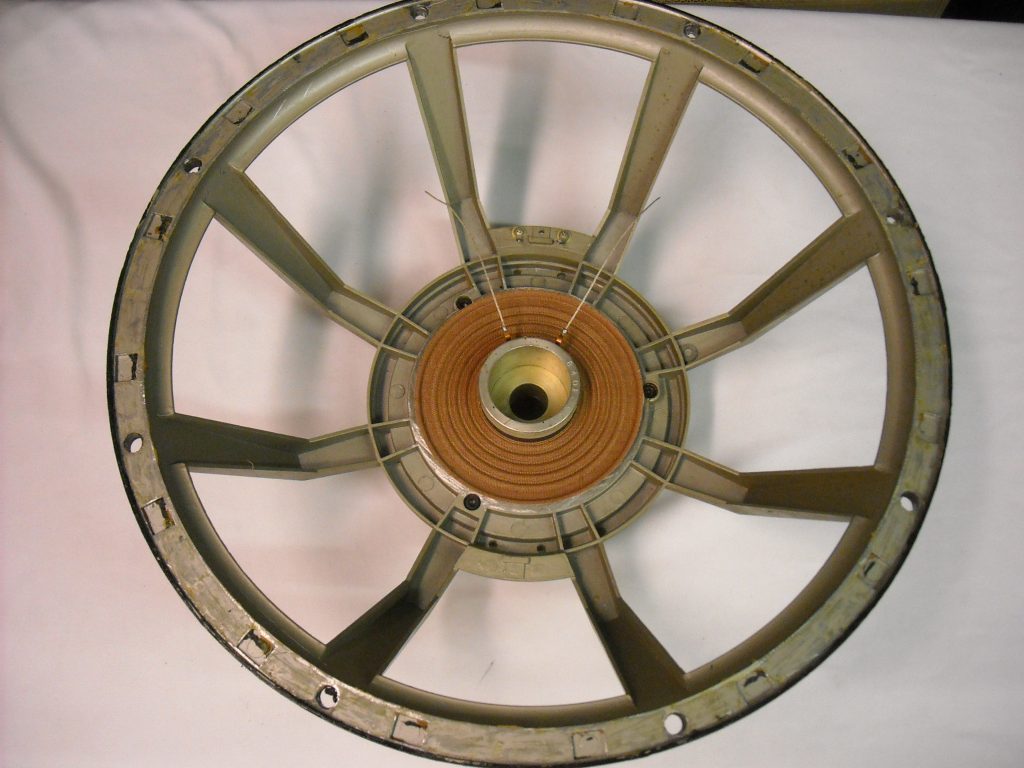
- 6) fit cone onto frame
- 7) add gaskets

The fixtures mentioned in these instructions are no longer available. We use gel shims for centering for EV recones just like we use them for all other recones. The results will be the same.